How to Animate a Background Texture
Once in the TrueSpace3
program, you have countless options for a background. For example, you can insert a texture map, bump map, or even an
environment map into your scene. However,
if you want to have an animated background in your scene, you have to take the
following steps listed below.
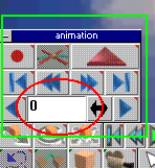
Note: If your scene contains any animation at all, you must access the animation control panel by clicking on the “Animation tool” button (yellow). When the “animation” menu appears (green), set the frame number to 0 (red). This is vital—if you do not do this, the background animation will only appear in a single scene.

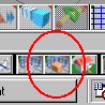
Go to the “Render Current Object”
button (red) on the
toolbar.
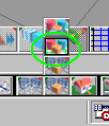
With the right mouse button, click on this button and drag up to the “Render Scene” button (green).
A “render options” menu (green) will appear, giving you several choices before you decide to render the scene. One of these choices is “Background” (red) and is written in bold type.
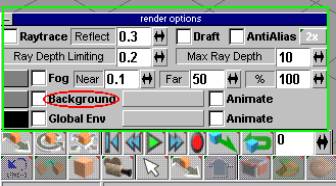
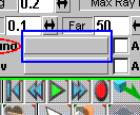
Next to the word “Background” is a gray, rectangular box (blue). Click on this box.
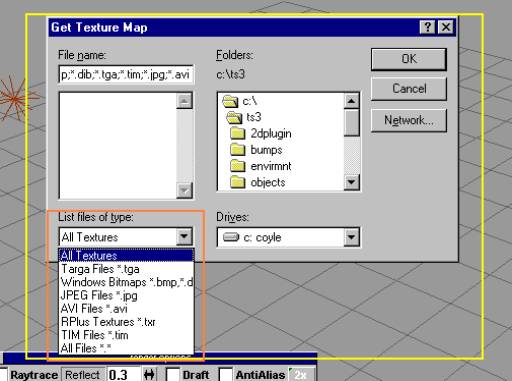
When the “Get Texture Map” box (yellow) appears, go to the pull down menu for “List files of type” (orange) and set it at “All Textures” (highlighted blue). This will insure that all background textures will be available to you.
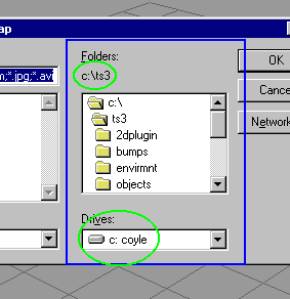
Next, make sure that you look at the open folder (managed within the blue box) and that you are in “c:\ts3” (green) or the respective file that holds the desired background.
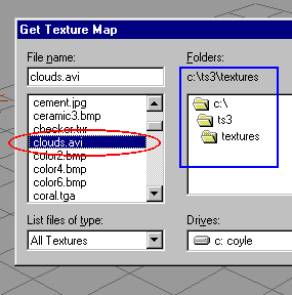
Next, you have to choose your desired background. Most importantly, in order for your background to have animation, or motion, it must be an *.avi file. One common TrueSpace background that can be animated is “clouds.avi” (red), which is found in “textures” subfolder of the “ts3” folder (blue).
Once you have chosen your *.avi background, click “Ok” and this background will be selected and put into your scene.
To
animate this background, repeat the first step and bring up the “render
options” (red) by right-clicking the “Render” button and dragging up to “Render
Scene”. When this menu returns, you will
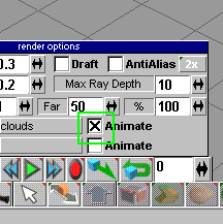
notice that there is a small white box next to the gray rectangle (which now
carries the name of the background you selected). If you chose “clouds.avi” as you background, this gray box shows
the word “clouds” (blue). The white box
with the word “Animate” (Yellow) next to it allows you to animate your
background (yellow arrow).

Click on this box, a black “X” (green) should appear. Once you have done this, close the “render
options” menu by clicking the box in the top left-hand corner. Now, when you render your scene or animation
to file, the background will be animated.

***Animating your background is very useful in creating a life-like scene. If the appropriate background to your scene has motion in real life, being able to animate your background only adds to its accuracy and aesthetic appeal. For example, the “clouds.avi” is particularly useful whenever creating an outdoor scene, or even a scene with windows that lead outside.***