Creating and Editing Joints
By
Matt Stevenson
Joints union two objects together and can
restrict and allow certain movements.
1.)
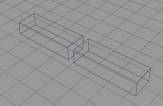
First create the two objects you want to join together, for this example
we will use rectangles.
2.) Now select one of the objects, and then
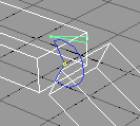
click and hold down the joint button 3.) You will notice a small green triangle
near the joint. This triangle
changes what part of the object will swing on the joint. The triangle is currently over the rectangle
to the left. This makes the
rectangle to the right move while the one on the left stays fixed. To have the rectangle on the left move
and the one on the right stay fixed, click and hold on the green triangle
and move it above the rectangle on the right. This arrow helps you move certain objects when dealing with
multiple joints. Now the object on the left swings
while the Other stays fixed.

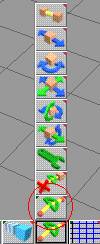
![]() , you will see a list of the different joints(as seen
left). Choose 1D Hinge Joint. The glue bottle will appear, click on
the 2nd rectangle. A
joint will appear. You will notice
now that the objects are glued together, and can move as though they were
on a hinge. Try it. Click and hold down the square on the
right and then move it up and down.
, you will see a list of the different joints(as seen
left). Choose 1D Hinge Joint. The glue bottle will appear, click on
the 2nd rectangle. A
joint will appear. You will notice
now that the objects are glued together, and can move as though they were
on a hinge. Try it. Click and hold down the square on the
right and then move it up and down.

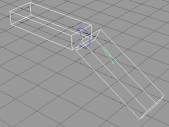
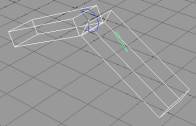


4.) Editing joints
is fairly simple. To begin click on
the edit joints directly button 5.) You can click
on the joint itself and move it without moving the objects. 6.) You will
notice the yellow lines with red dots at the end. Using these will rotate the joint. a.)
To rotate the
joint on the x axis, right click and hold on one of the red squares and
then move the mouse. This will
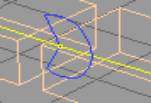
rotate the joint on the x axis as seen left. b.)
To rotate the
joint on a Y axis. Click and hold
down on the red square again. This
time move the mouse left and right.
This will move the joint on a Y axis as seen left.
![]() . The joint will
now look like the picture to the left and you will now be able to do a
number of different things to it.
. The joint will
now look like the picture to the left and you will now be able to do a
number of different things to it. 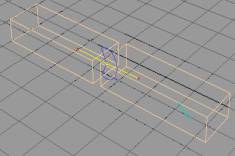
![]() a.
a. 
![]() b.
b. 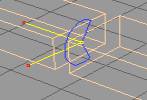
7.)
To increase
or decrease the range of motion of the joint you must edit the blue
circle. To do this click on the
edit joints directly button again.
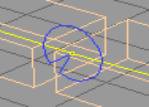
The blue circle looks somewhat like a pizza with a piece taken out
of it. a.)
To edit the
circle, click and hold down on the edge where there is a piece missing from the circle as seen
left. Now move the mouse and you
will see that you can make the missing part of the circle larger or
smaller. In the picture to the left
it has been made smaller.
![]()
