How to make a Chess Board
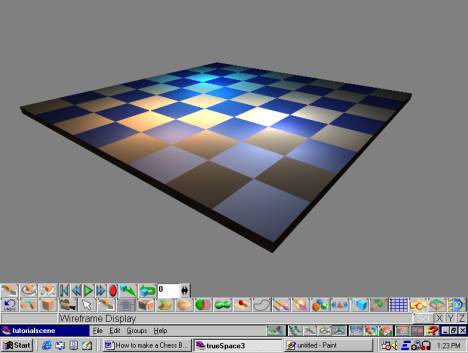
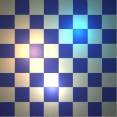
The object of this tutorial is to make a realistic looking chessboard with realistic colors and textures.
|
1.) Open trueSpace
3. Do this by clicking on the “START”
button, selecting “Programs, then selecting “Caligari trueSpace 3,” and
finally by clicking on “trueSpace 3.” |
|
|
2.) When the
program starts, you will be provided with an empty place with which to create
your chessboard. |
|
|
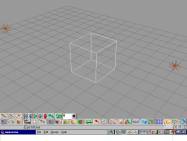
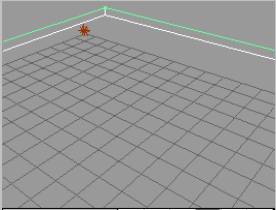
3.) Place a cube
in the scene by clicking on the “Add Cube” button. A cube will appear in your workspace. |
|
|
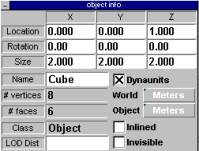
4.) Right click on
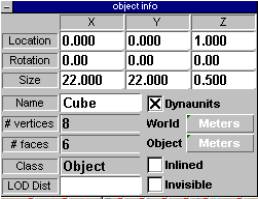
the “Object Tool” button, and you will see a table displaying the information
about the cube. |
|
|
5.) Change the
size of the “X” axis to 22, the size of the “Y” axis to 22 and the size of
the “Z” axis to 0.5. Press enter
after you enter the last number. |
|
|
|
|
|
7.) Select the
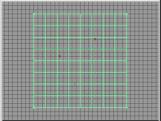
zoom button, and then click on the small top view and drag the mouse down. Do this until you can see your whole cube. |
|
|
8.) Now it is time
to make the squares on the board. To
do this, click and hold on the “Point Edit” button. When the little menu pops up, select “Faces.” |
|
|
9.) Click on the
top face of your square until it is highlighted in green. |
|
|
10.) Next, click
and hold on the “Smooth Quad Divide” button.
From the little menu, select the “Quad Divide” button. You will notice, from your top view, that
the board is split into four squares.
Keep hitting that button until your board is eight squares up and
down, and eight squares across. It
should only be three hits of the button.
When you are done, hit the “Object Tool” button. |
|
|
11.) Next, we will
color in the chessboard. Select the
“Material Library” button. Then,
select “Wood1.” |
|
|
12.) Change the
little view to “Side View” by clicking and holding the View button. Then, click the “Paint Face” button. Ignore the boxes that appear, for now. |
|
|
13.) Using the
paint tool, click on the side of the chessboard. It will look black for now.
You can change the view if you need to. |
|
|
14.) Then, in the
regular window, switch to a top view and zoom out until you can see the whole
board. By pressing the “Paint Face”
button again, you will bring up the little paint menu. Click on the “Use Texture Map” button to
get rid of the wood. |
|
|
15.) Select a
color by moving the little thing on the color wheel around. You can make it darker or lighter with the
slider next to it up or down. Let’s
pick a dark color, like blue. Using
the “Shader Attributes,” make it shiny by moving the “Shininess” slider to
wear the arrow points to. |
|
|
16.) With the
paintbrush, paint every other square with the blue color you have. Going back to the paint area, select white
as your next color, and paint all spaces that are not blue white. |
|
|
17.) Go back to
the perspective view, then click and hold the “Render Current Object”
button. From the little menu, select
the middle button (“Render Scene.”). |
|
