Knight Tutorial
|
1. Start by opening Truespace3 and selecting new scene. |
|
|
2. First of all select the add object tool and add a sphere. |
|
|
3. Create at least 2 new views by right clicking the new perspective view then selecting a view. I have chosen the top and front views. |
Top Front |
|
4. Then select the object deform tool the sphere will subdivide into 8 movable sections elongate the sphere along one axis. |
|
|
5. Select the object scale tool and flatten the elongated sphere not completely but just slightly. When completed it should look like the picture at right. |
|
|
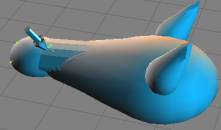
6. Copy the object by hitting control-c and then scale it down using the object scale tool. Make the copy small enough that it will fit over the end of the other circle but large enough that it won’t allow the other circles tip to stick out. You might want to go to 3dr mode to do this. (Hint: if this becomes a problem use the object subtraction tool to cut the tip off the other circle). The new circle will have to be rotated 180 degrees on the X-axis using the object info palate. |
|
|
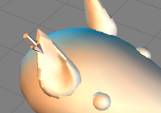
7. Make two more copies of this smaller circle Scale them down even further until they seem to be properly proportioned as ears. Rotate these about -120 degrees on the X-axis. For the ear on the right do 60 degrees on the y-axis and for the left do –60 on the y-axis. |
|
|
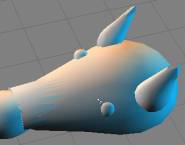
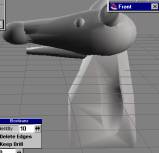
8. Next make a cylinder and rotate it 90 degrees on the x-axis and elongate the cylinder using the object scale tool. Next use the point edit: faces tool to make the end of the cylinder become flush with the back of the nose shown at right. |
|
|
9. Then create 1 sphere using the add sphere tool. Scale the sphere down using the scale object tool then make a copy of it make sure the sphere is about the size of an eye. Move the eyes to perfectly opposite sides of the head use the object information panel if necessary. In the end it should look like the figure at right. |
|
|
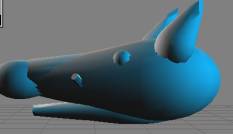
10. Next we will make the lower jaw this is easy because you have already made the nose. Simply make a copy of the nose and then scale it to make it longer flip it around and make it shorter. Use the object subtraction tool to cut off a piece of the lower jaw so that it resembles the figure at right. |
|
|
11. Next you will deform the ears so that they bend inward somewhat this is easy. You use the object deform tool to move a point on the ear inward. |
|
|
12. Next glue all of the parts of the head together using the glue as a child tool. |
|
|
13. Next we will create the body of the knight to do this we will add a cube. Arrange the cube so that it is directly below the head and should begin a neck. Then select the point edit faces tool and select the face that faces the knights nose. |
|
|
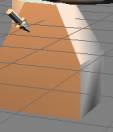
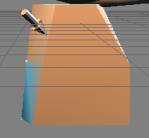
14. After selecting the face use the quad divide tool to divide up the face. Next select the point edit vertices tool and select the top most vertices on the face and push it backward slightly using the top view for guidance push the other top most vertices back and towards the center. Next you will quad divide the back face. This time only push in the top corners. |
|
|
15. Now push in the middle corners on the back. Pull out the middle vertices on the bottom of the back. The body should look like the figure at right. Now using the add cube tool we will add a cube and scale it to an oval. Now you will use the object subtraction tool to create the grooves on the side of the knight. Left click on the object subtraction tool and keep drill then position the oval over the side of the body and subtract from the body. Then using the object information panel make the X-axis negative this will switch the oval to the opposite side then subtract again. |
|
|
16. Now we will union the head to the body. Get rid of the oval it has done its job. Align the head with the body and do any scaling necessary then select the object union tool and glue them together. Unioning may not work if so then glue together. |
|
|
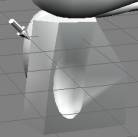
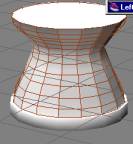
17. Finally we will create the base this is not difficult at all. First make a cylinder using the scale object tool flatten it. Then create another cylinder and use the pipe deformation tool and deform the new cylinder by first of all by choosing the stand alone deform object tool and then by dragging the cylinder through the pipe deformation. Next you will make a cylinder and flatten it then glue it to the bottom of the deformed object. In the end it should look like the figure at right. |
|
|
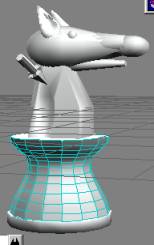
18. Finally you will scale the knight and the deformed base until they look in proportion (use your own discretion) and glue them together in the end it should look roughly like the figure at right. (You can if you want paint it a different color.) |
|
|
|
|
|
|
|


